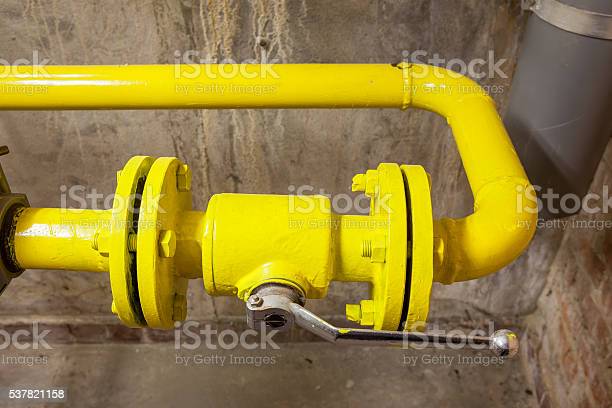
In the realm of household plumbing, even the smallest components can make a significant impact. Toilet shut-off valves, often overlooked, play a crucial role in providing ultimate control over your bathroom’s water supply. From preventing leaks to facilitating repairs, these unassuming devices are essential for maintaining a smoothly functioning bathroom. In this comprehensive guide, we’ll explore how to choose the right shut-off valve, install it correctly, and ensure its long-term effectiveness through proper maintenance.
Choosing the Right Toilet Shut-Off Valve
Selecting the right shut-off valve for your toilet is the first step toward ensuring efficient water control. Here are some factors to consider:
- Material: Opt for shut-off valves made from durable materials like brass or stainless steel. These materials are resistant to corrosion, ensuring a longer lifespan for the valve.
- Type: There are two main types of shut-off valves: compression and quarter-turn (ball) valves. Quarter-turn valves are easier to operate and tend to have better longevity due to their simplicity.
- Size: Shut-off valves come in different sizes, commonly 3/8-inch or 1/2-inch. Ensure the valve size matches the size of your water supply line.
- Handle Type: Choose a valve with an ergonomic and easy-to-turn handle. This is especially important for accessibility and quick shut-off during emergencies.
Installing a Toilet Shut-Off Valve
Proper installation ensures the valve functions as intended and minimizes the risk of leaks. Here’s a step-by-step guide:
- Turn Off Water: Before installation, shut off the main water supply to your toilet.
- Drain Water: Flush the toilet to empty the tank and bowl.
- Positioning: Position a bucket or towel under the existing shut-off valve to catch any residual water when you disconnect it.
- Disconnect Existing Valve: Use an adjustable wrench to carefully disconnect the existing valve from the water supply line. Be cautious to avoid damaging the pipe.
- Teflon Tape: Wrap Teflon tape around the threads of the new shut-off valve’s male end. This helps create a watertight seal.
- Attach New Valve: Use the wrench to connect the new valve to the water supply line. Hand-tighten first, then give a gentle quarter-turn with the wrench to secure it.
- Test for Leaks: Slowly turn on the water supply and check for any leaks around the valve. If you see leaks, tighten the connections slightly until they stop.
Maintaining Your Toilet Shut-Off Valve
Regular maintenance ensures the continued efficiency of your shut-off valve. Follow these tips:
- Operate Periodically: Turn the valve on and off a few times every few months to prevent it from becoming stuck.
- Visual Inspection: Check for signs of corrosion, rust, or damage. If you notice any issues, consider replacing the valve.
- Drip Check: If you detect water dripping from the valve when it’s closed, address the issue promptly to prevent water wastage.
- Emergency Preparedness: Educate your household members about the valve’s location and operation to be prepared for emergencies.
- Professional Check: Include the shut-off valve in regular plumbing inspections by professionals.
